This page is about how to apply firmware to your controller and how to restore the default setup of your controller to the settings when you received it.
1) Apply firmware to controller
2) Restore the initial configuration
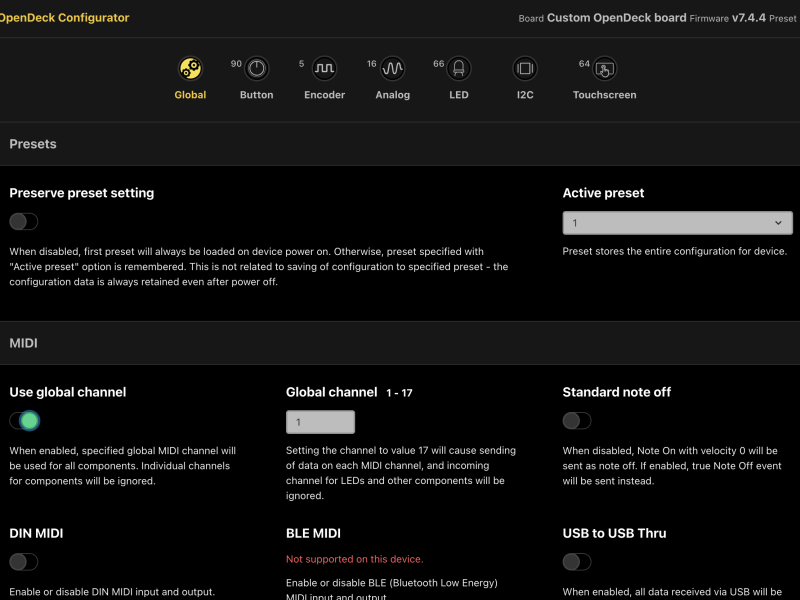
Note that you should not use the ‘reset to default settings’ or ‘update firmware’ options in the configurator. This will reset the controller to a fully blank setup, while all my controllers have special firmware and settings as they are all unique and have their own setup.
Download the firmware and configuration file
Before you start the process first download the zipped firmware and config file of your controller. You can check your controller on the products overview page and go to the download section on the page of your controller. Download that file and unzip it on a location you can find it as you need this in the process. Some controllers don’t have any downloads yet, please contact us to provide you the file you need as this might depend on when you bought the controller (so which version you have).
1) Apply firmware to controller
Only apply new firmware to your controller if it is not working anymore and not showing up in the online configurator (see introduction of the configurator here). Or when this is asked by us.
To apply new firmware you have to open the case of your controller. Therefore this only needs to be done if your controller is really not working anymore. Normally applying new firmware is not needed so doing this is an exception only for not working controllers.
The steps to apply new firmware is simple but requires a few steps:
1) Disconnect all cables (midi and usb) from the controller.
2) Unscrew the screws on the back of your controller and keep them save and close.
3) Open the back lid / back cover carefully of your controller.
4) Locate a small knob on the micro controller. See image below:

4) Now connect the micro usb cable to your midi controller (like you always do)
5) Now press and hold the BOOTSEL button like marked with a red cirkle in the image and connect the other side of your usb cable to your computer/laptop.
6) Open your Windows Explorer (Windows) or Mac Finder (Mac OS)
7) Locate the new usb drive RPI-RP2 that is now visible, see image below:

8) Now go back to the zip file you have downloaded and note that in the file there is a .uf2 file. Now copy this .uf2 file to this new usb RPI-RP2 drive.
9) When copied to this drive the file will copy and the device will automatically install the new firmware. Wait for this to complete and the usb drive will not automatically disconnect again.
10) Well done! You have installed the firmware on the controller!
11) Carefully put back the cover on the controller and secure the lid with the screws that you have removed in the beginning.
If you now go to the configurator you will see it working and it shows the dashboard again with all the configuration options.
2) Restore the initial configuration
Now to restore the configuration connect your controller with USB to any device supporting Web MIDI (like all laptops, Android phone and tablets and even more ;)). So in principal just connect it to your computer with USB.
Then go to the configurator of Opendeck at https://config.shanteacontrols.com/ and scroll downwards to the Backup & Restore section like shown below.

To continue click on Restore which will open the file explorer of your computer. Go to the sysex file you just unzipped from the downloaded zip file.
This will start the restore process using the settings of that sysex file. When completed wait for a minute. If nothing happens then unplug your device from the USB and plug it back in again. Sometimes you might need to refresh the configurator page as well, but either way the configurator will show again your device and the restore process has completed.
The process again in short steps
- Download the sysex file and unzip it
- Connect your controller to your laptop with USB
- Go to the online configurator page
- Scroll to the restore section, click restore and select the sysex file
- If after 30s nothing happens, refresh the configurator page and/or remove the controller from USB and plug it back in again.
You have now installed the default configuration again.

